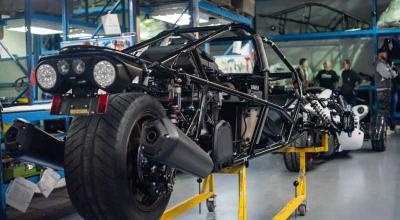
DIY Car Modification: Your Step-By-Step Guide To Unleash Your Car's Potential

by AutoExpert | 28 June, 2023
Hey there, gearheads! Welcome to our step-by-step guide to DIY car modifications. Roll up your sleeves and prepare to dive headfirst into the exhilarating world of car customization!
Step 1: Identify Your Goals
Start by setting clear objectives. Are you chasing performance enhancements? Or is it the striking aesthetic transformation that you desire? Or maybe a blend of both? Precise planning is the foundation of a triumphant DIY car modification.
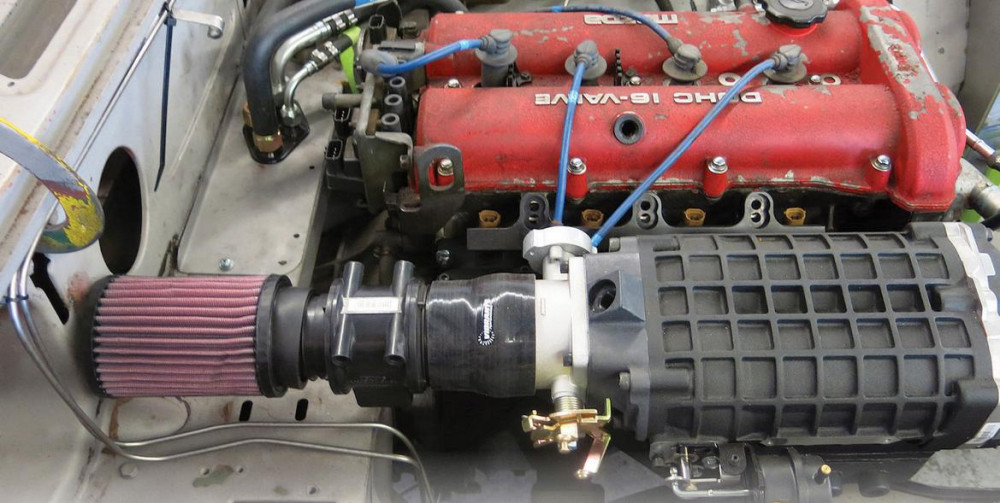
Step 2: Cold Air Intake Installation
A cold air intake system is an excellent first step to give your engine a horsepower boost. Here’s a simplified process:
- Purchase a cold air intake kit suitable for your car model.
- Begin by disconnecting the negative terminal of your battery. Safety first!
- Locate and remove your current airbox. Keep track of the screws!
- Install your new cold air intake, typically involving mounting the intake tube and air filter.
- Reconnect the battery, start your engine, and enjoy the extra roar!
Step 3: Upgrading the Exhaust System
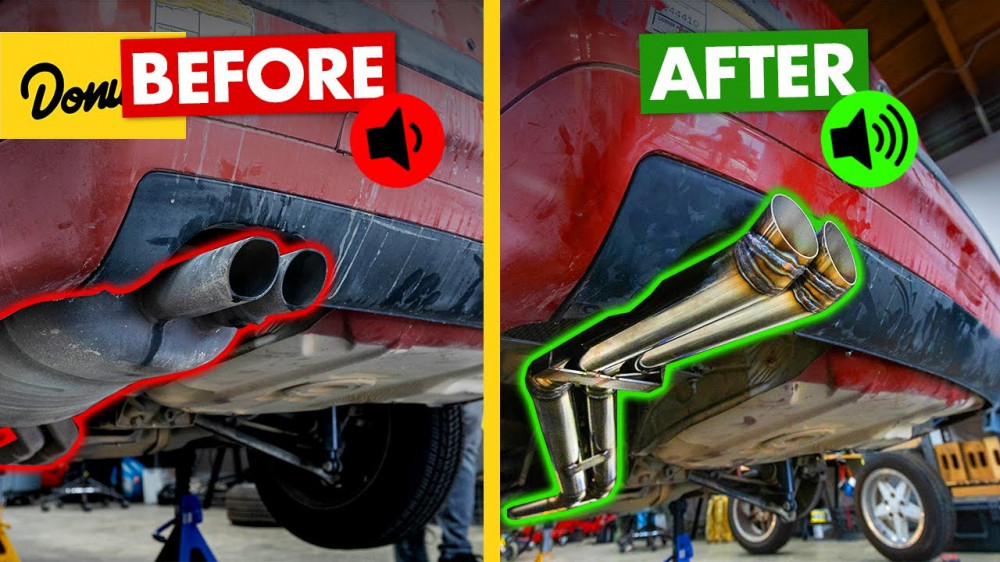
An upgraded exhaust system offers performance gains and a satisfying deep rumble sound. Here's how you can do it:
- Choose an exhaust system that fits your vehicle. Cat-back systems are a popular choice for their balance between cost and performance gains.
- With your car securely on jack stands, remove the existing exhaust from the catalytic converter back.
- Install your new exhaust system following the manufacturer's instructions, generally working from front to back.
- Start the engine to check for any leaks.
Step 4: Installing Lowering Springs
If handling improvements are your priority, lowering springs can be a game-changer. The process is a bit more complex, so be prepared:
- Ensure you have the right springs for your vehicle.
- After jacking up your car and securing it, remove the wheels.
- Carefully remove the existing springs, paying close attention to your vehicle's specific procedure to avoid any injuries.
- Install your new lowering springs, reassemble everything, and voila!

Step 5: Fitting Performance Tires
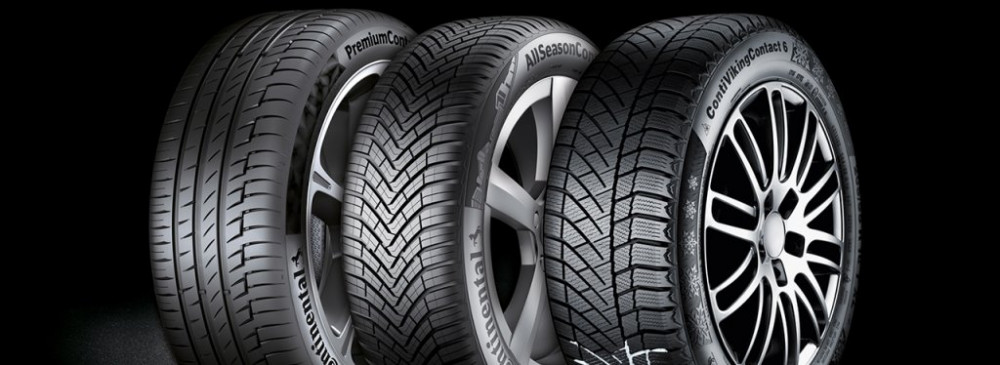
Performance tires offer better grip and handling. Here's how to switch:
- Select performance tires suitable for your driving conditions.
- Deflate and remove your current tires from the rims.
- Fit your new performance tires onto the rims, and inflate.
- Get your wheels balanced to ensure smooth driving.
Step 6: ECU Tuning
ECU tuning might require professional assistance, but with the right tools, you can attempt it:
- Purchase an ECU tuning device compatible with your car.
- Plug the device into your car's OBD-II port.
- Follow the prompts on the device to tune your ECU.

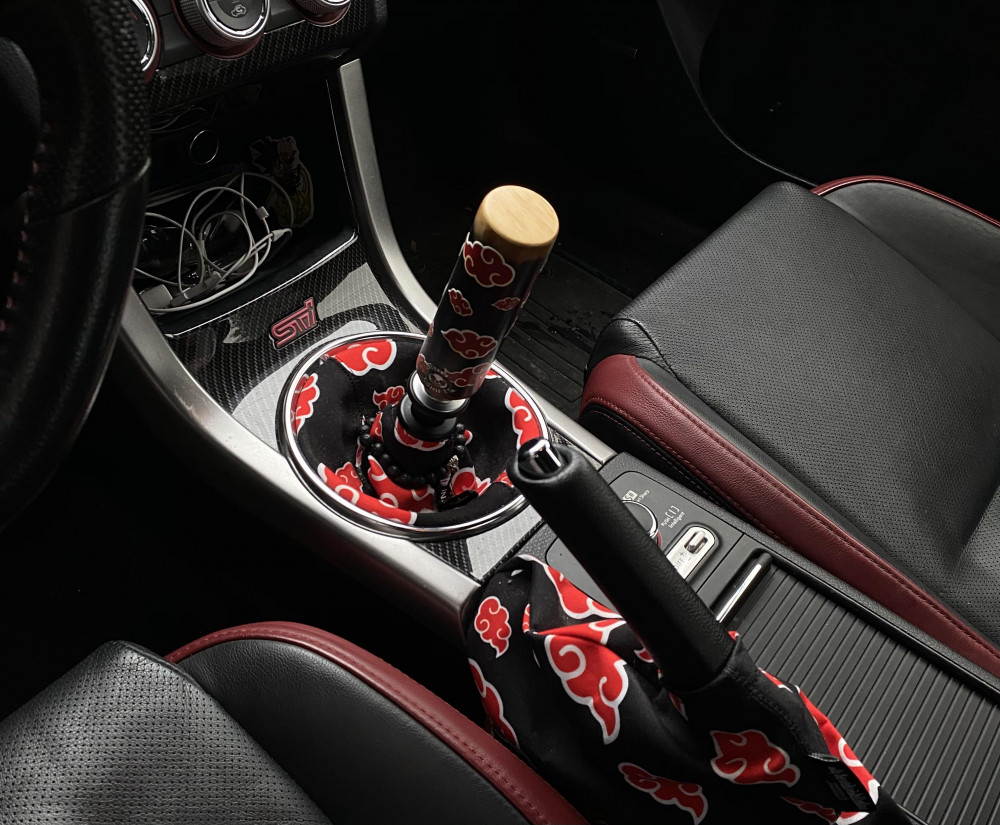
Step 7: Aesthetic Modifications
Aesthetic modifications let your car's personality shine. Here are some ideas:
- Vinyl wraps can dramatically change your car's look. You'll need a vinyl sheet, a heat gun, and a lot of patience. It's like applying a giant sticker on your car, smoothing out bubbles as you go.
- Installing custom lighting, like underglow or interior LED strips, can be achieved by following the provided installation guide.

Step 8: Interior Upgrades
Interior upgrades are all about comfort and personal taste:
- For sport seats, buy a pair that comes with compatible mounting brackets for your car. Remove your old seats and install the new ones following the included guide.
- A new steering wheel can be installed by first disconnecting the airbag (be careful!) and then using a steering wheel puller.
Remember, while modifications can be fun and rewarding, safety and legality should always be your top concerns. Always ensure that your modifications comply with local laws and don't compromise the safety of you and others on the road.
Now, happy modding, and let your car speak your language!


