Handy DIY Car Repair Tips: The Ultimate Guide to Auto Repair at Home

by AutoExpert | 19 June, 2023
Are you tired of hefty auto repair bills? Do you wish you could handle some of those minor issues on your own? Well, you're in luck! This comprehensive guide is packed with DIY car repair tips that will help you take control of your auto maintenance and reduce those expensive visits to the mechanic. As they say, knowledge is power, and we're here to equip you with everything you need to start your DIY auto repair journey. Let's dive in!
Understanding the Basics of Auto Repair
Before we start with our DIY car repair tips, let's get to grips with the basics. Having a clear understanding of how your car operates can make a significant difference when it comes to DIY auto repair. If you're a newbie, start by reading your car's manual. It's a treasure trove of information about your car's parts and how they function.
DIY Car Repair Tips
1. Changing Your Oil
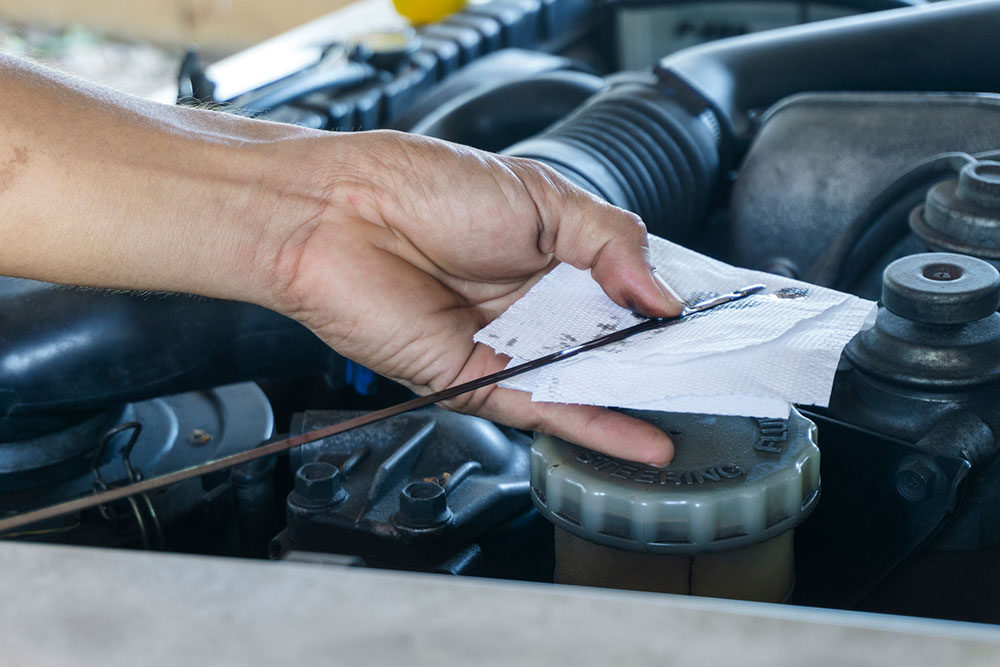
Changing your car's oil is one of the most straightforward DIY car repair tips. Regular oil changes keep your engine running smoothly and prolong your vehicle's life. Follow your manufacturer's recommendation on when to change the oil (usually between 3,000 - 7,000 miles, depending on the oil type).
Changing your car's oil is one of the most straightforward DIY car repair tasks, and it's crucial for keeping your engine running smoothly. Here's a step-by-step guide:
You will need:
- New oil
- New oil filter
- Oil filter wrench
- Socket set
- Funnel
- Oil drain pan
- Jack and jack stands
Steps:
- Warm Up Your Car: Start your vehicle and let it run for a few minutes. The warm oil will drain faster than cold oil.
- Lift Your Car: Using a jack and jack stands, lift the front of your car.
- Drain the Oil: Position your oil drain pan beneath the oil plug. Remove the plug with your socket set, allowing the oil to drain out.
- Remove the Old Oil Filter: Use your oil filter wrench to remove the old filter. Be careful as it's still full of old oil.
- Install the New Oil Filter: Apply a small amount of new oil to the gasket on the new filter, then screw it into place by hand.
- Replace the Oil Plug: Once all the old oil has drained, replace the oil plug.
- Add the New Oil: Use a funnel to add the new oil into the oil filler hole. Your car's manual will tell you how much oil your car needs.
- Check Oil Levels: Start your car and let it run for a few minutes, then check the oil levels to ensure everything is correct.

2. Replacing Your Brake Pads
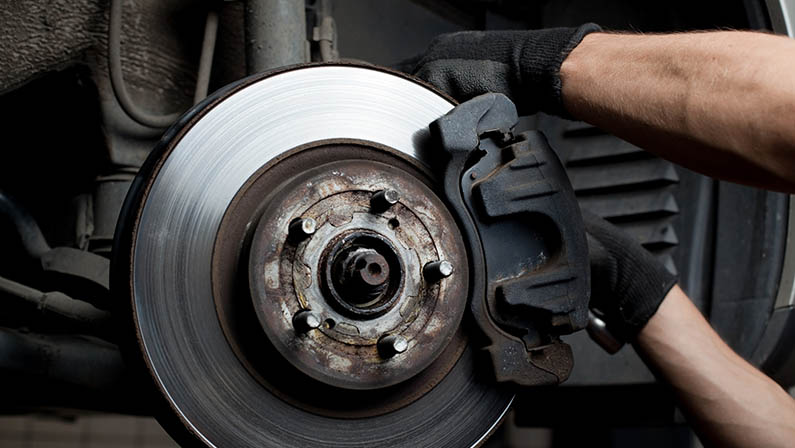
Brakes are essential for your safety, but replacing brake pads is a task you can do at home. It might seem intimidating at first, but with the right tools and a bit of patience, you'll be changing your brake pads like a pro.
Brake pads should be replaced roughly every 50,000 miles, but this can vary based on your driving habits and the quality of the pads. Here's how to do it:
You will need:
- New brake pads
- C-clamp or brake piston tool
- Wrench
- Jack and jack stands
Steps:
- Lift Your Car: Using a jack and jack stands, lift the car.
- Remove the Wheel: Use a wrench to remove the lug nuts and take off the wheel.
- Remove the Caliper: The brake pads are held in place by a caliper. Remove the bolts on the caliper with a wrench, then slide the caliper off the brake pads.
- Replace the Brake Pads: Remove the old brake pads from the caliper. Apply brake grease to the back of the new brake pads (not the side that will come in contact with the rotor), then slide them into the caliper.
- Compress the Caliper: Use a C-clamp or brake piston tool to slowly compress the caliper piston. This will allow the caliper to fit over the new, thicker brake pads.
- Reinstall the Caliper: Slide the caliper back over the rotor and tighten the bolts.
- Replace the Wheel: Put the wheel back on and tighten the lug nuts.
- Remember, always replace brake pads in pairs. If you change the front left brake pad, also change the front right.

3. Changing the Air Filter
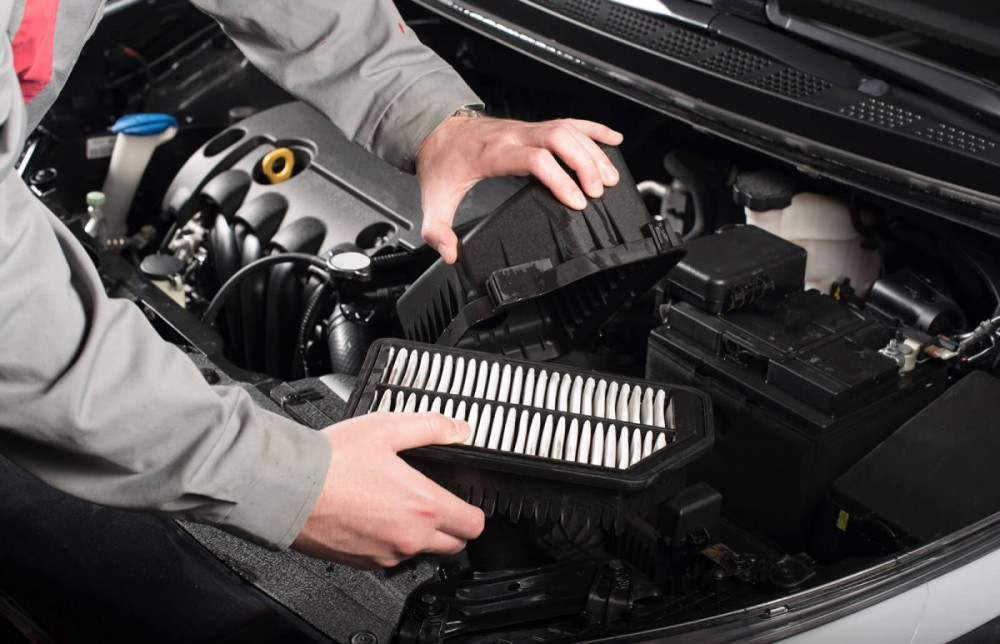
Your car's air filter keeps impurities from entering your engine. It's recommended to change the air filter every 12,000 to 15,000 miles, or at least once a year. Fortunately, this is a quick and inexpensive DIY car repair tip.
Your car's air filter is crucial for keeping impurities from entering your engine. Here's how to change it:
You will need:
- New air filter
- Screwdriver
Steps:
- Locate the Air Filter: Check your car's manual to find the air filter. It's usually in a black rectangular box near the engine.
- Open the Air Filter Box: Open the box by releasing the latches.
- Check the Old Filter: Look at the old filter. If it's filled with dirt and debris, it's time to replace it.
- Remove the Old Filter: Take out the old filter, being careful not to let any debris fall into the bottom of the box.
- Insert the New Filter: Put the new filter in place. Make sure it fits snugly and is facing the right direction.
- Close the Air Filter Box: Securely close the box, making sure the latches are properly fastened.

Seeking Professional Help
While these DIY car repair tips can save you money, it's important to recognize when a problem is beyond your skill level. If you're uncertain or uncomfortable performing a repair, it's always better to seek professional help. Remember, safety first!
Armed with these DIY car repair tips, you'll be better equipped to handle minor car repairs and maintenance. Remember, the key to successful DIY auto repair is understanding your vehicle, having the right tools, and knowing when to call in the professionals. So, roll up your sleeves and get ready to dive into the world of DIY auto repair.


